
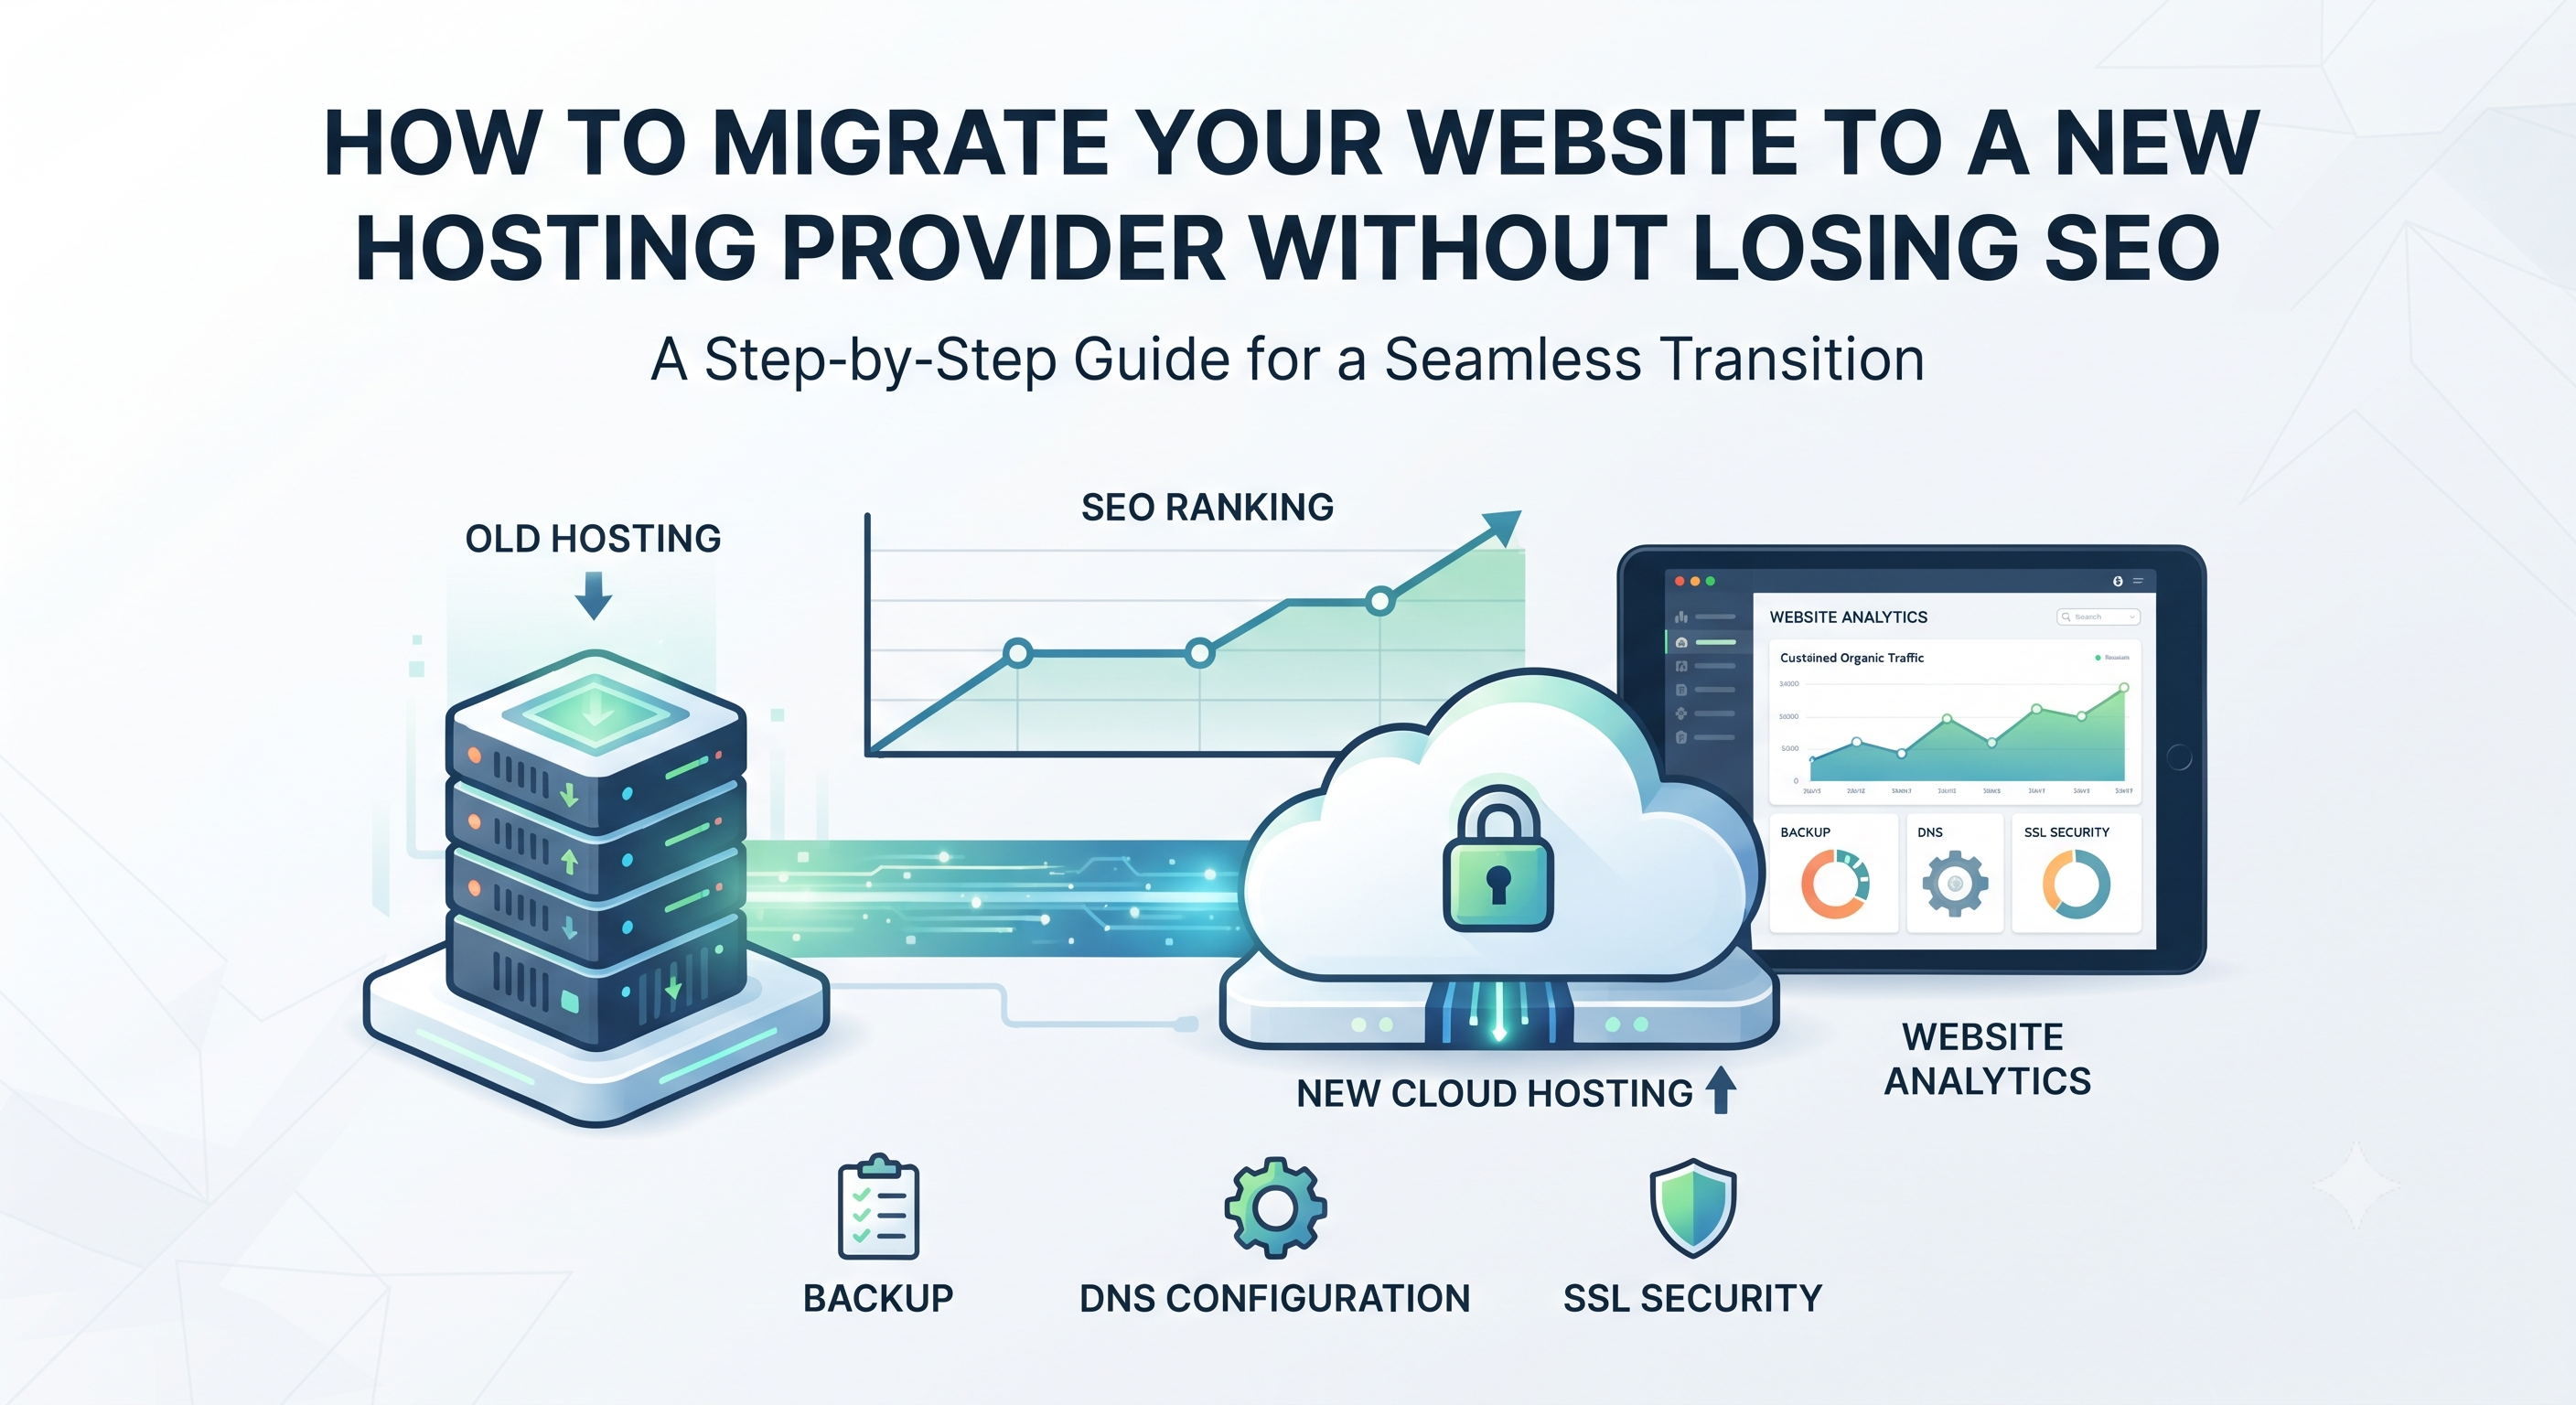
Changing your website hosting provider can improve website speed, security, uptime, and overall performance. But if the migration is not handled correctly, it can also cause temporary or even long-term SEO problems.
Your website may lose rankings, experience broken links, generate server errors, or see a drop in organic traffic if important SEO elements are missed during migration.
The good news is that moving your website to a new hosting provider does not have to mean losing your SEO rankings.
With proper planning, backups, redirects, DNS configuration, testing, and monitoring, you can migrate your website safely while protecting your existing search engine visibility.
In this guide, we will explain how to move your website to a new hosting provider without losing SEO.
Table of Contents
- Why Website Hosting Migration Can Affect SEO
- When Should You Consider Changing Your Hosting Provider?
- Step 1: Choose the Right Hosting Provider
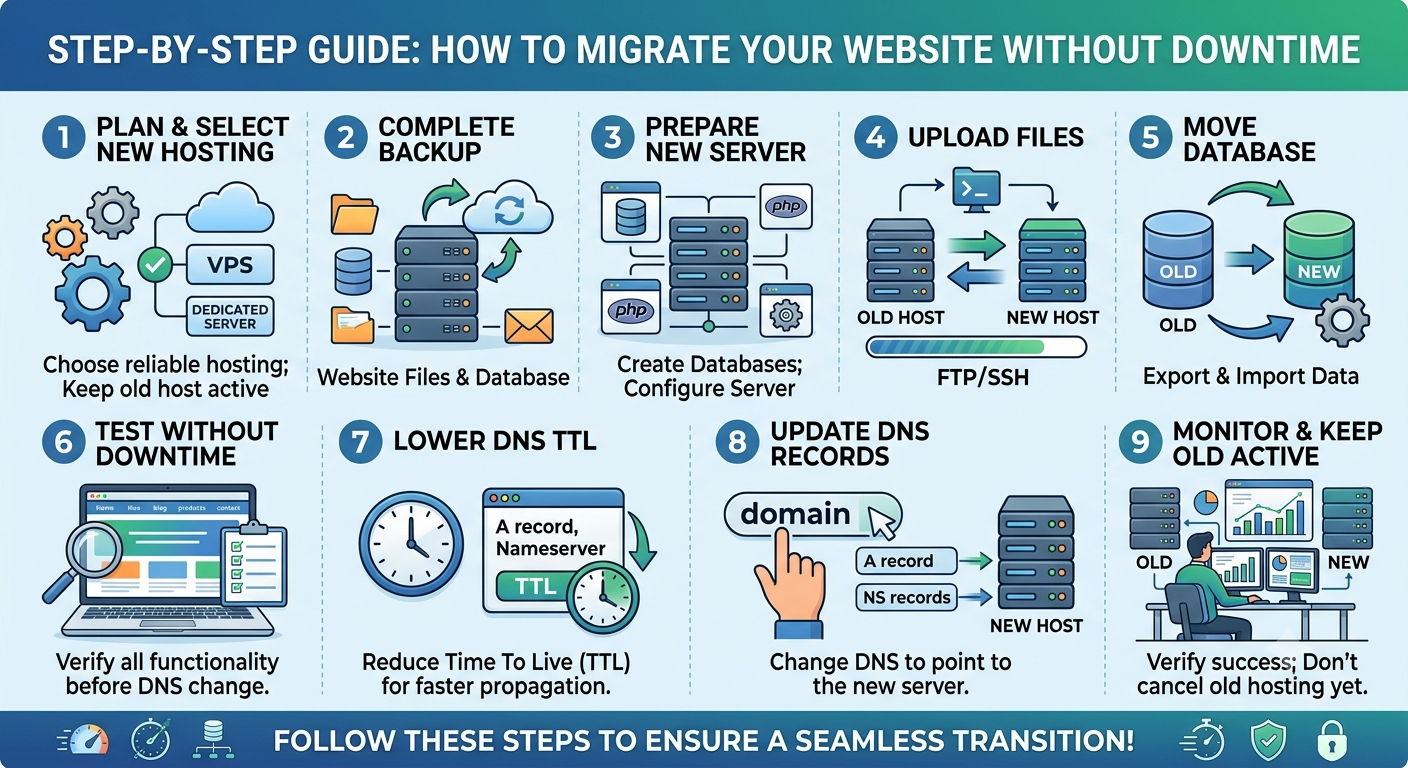
- Step 2: Create a Complete Website Backup
- Step 3: Crawl Your Existing Website
- Step 4: Set Up Your New Hosting Account
- Step 5: Transfer Your Website Files
- Step 6: Transfer Your Database
- Step 7: Check URLs, Links, and Website Structure
- Step 8: Test the Website Before Changing DNS
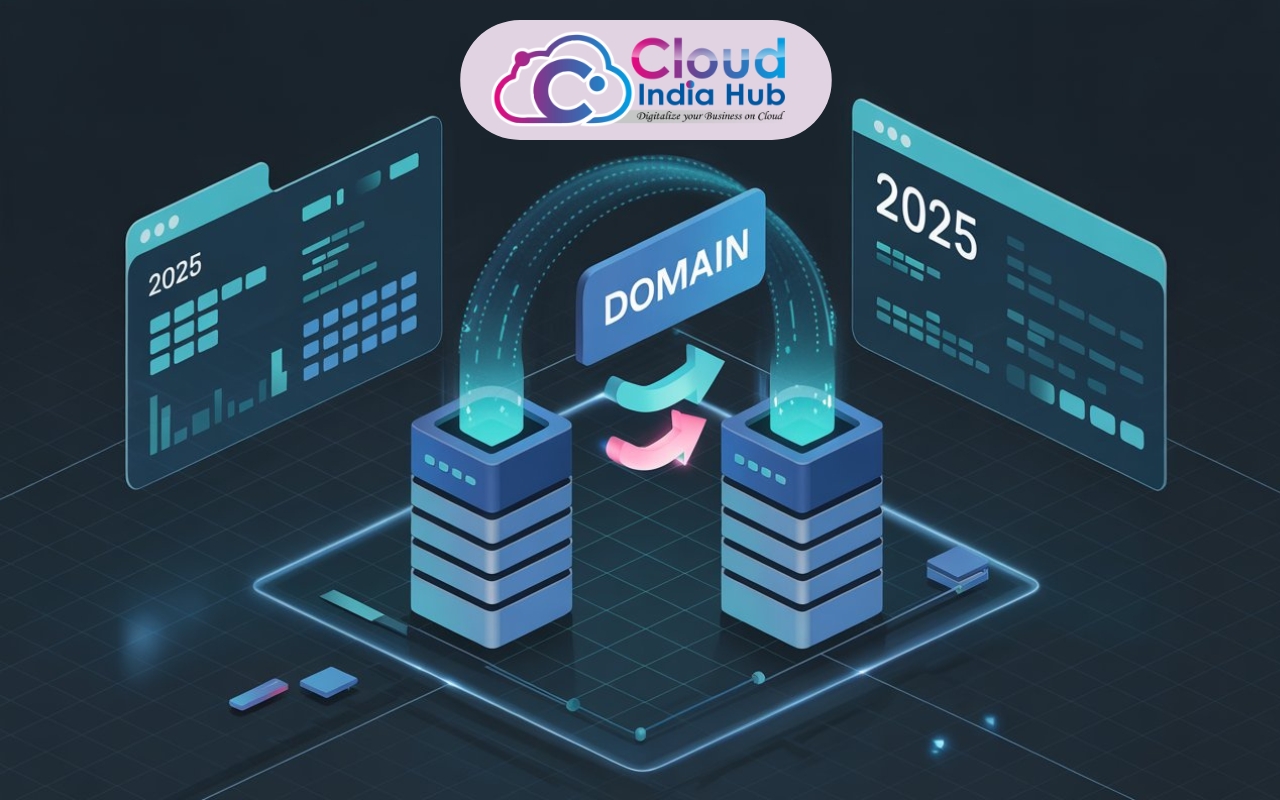
- Step 9: Update DNS Records
- Step 10: Check SSL Certificate
- Step 11: Check Robots.txt and XML Sitemap
- Step 12: Monitor Your Website After Migration
- Common Website Migration SEO Mistakes
- Website Hosting Migration Checklist
- Frequently Asked Questions
- Final Thoughts
Why Website Hosting Migration Can Affect SEO
Your hosting provider is not usually a direct ranking factor by itself. However, hosting performance and server reliability can indirectly influence SEO.
For example, if your new hosting environment causes your website to load slowly, frequently go offline, or return server errors, visitors may have a poor experience and search engine crawlers may have difficulty accessing your pages.
During migration, common problems can include:
- Website downtime
- 404 errors
- Broken internal links
- Incorrect DNS settings
- Missing website files
- Database connection errors
- SSL certificate problems
- Incorrect robots.txt settings
- Missing XML sitemap
- Server configuration errors
- Changes to URLs or website structure
That's why the migration should be treated as a technical SEO project, not simply a file-transfer process.
When Should You Consider Changing Your Hosting Provider?
Website owners often change hosting providers because their current hosting no longer meets their requirements.
You may want to consider migration if:
- Your website is consistently slow
- Your current hosting has frequent downtime
- Your website has outgrown shared hosting
- You need better server resources
- You need improved security
- Your hosting support is poor
- Your website receives increasing traffic
- You need better scalability
- Your current hosting plan is too expensive for the resources provided
Before migrating, identify exactly why you want to change hosting.
Choosing a new provider that solves the original problem is more important than simply choosing the cheapest hosting plan.
Step 1: Choose the Right Hosting Provider
The first step is choosing hosting that can support your website's current and future requirements.
Consider factors such as:
- Server performance
- Storage
- RAM and CPU resources
- Bandwidth
- Uptime
- Security features
- Backup options
- SSL support
- Customer support
- Scalability
- Server location
- Pricing
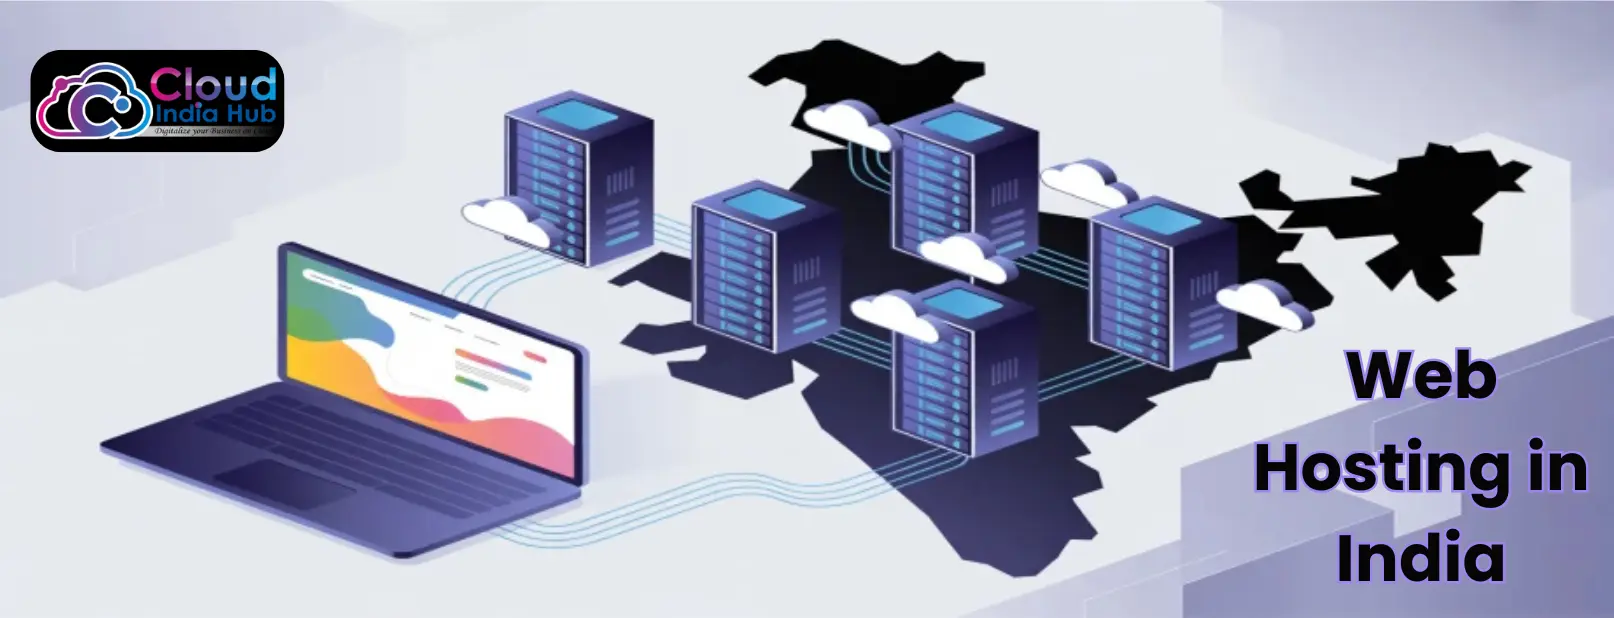
For an Indian audience, choosing a hosting environment optimized for visitors in India can help provide better server response times.
If you run a business website, e-commerce website, WordPress website, or high-traffic platform, make sure the hosting plan can handle your expected traffic.
Do not choose hosting based only on price.
Step 2: Create a Complete Website Backup
Before making any changes, create a complete backup of your existing website.
Your backup should include:
- Website files
- Database
- Images
- Videos
- Plugins
- Themes
- Configuration files
- Email-related settings where applicable
- DNS records
For a WordPress website, make sure both the WordPress files and database are backed up.
Keep a copy of the backup in a separate location rather than relying only on your current hosting server.
Why is this important?
If something goes wrong during migration, you can restore your website instead of rebuilding it from scratch.
Never start a hosting migration without a reliable backup.
Step 3: Crawl Your Existing Website
Before migration, create a record of your existing website.
You should know:
- Important website URLs
- Top-performing pages
- Organic traffic pages
- Existing redirects
- Internal links
- Canonical URLs
- XML sitemap
- Robots.txt
- Metadata
- Indexed pages
- Important images
You can use tools such as Google Search Console and website crawling tools to identify important pages.
Pay special attention to pages that generate significant organic traffic.
These pages should be carefully checked after migration.
Step 4: Set Up Your New Hosting Account
Purchase your new hosting plan and configure the hosting environment before changing your domain's DNS.
Depending on your website, you may need to configure:
- PHP version
- MySQL/MariaDB database
- WordPress
- Domain
- SSL
- Email accounts
- FTP/SFTP access
- Server settings
The goal is to have your new hosting environment ready before your domain points to it.
This helps reduce unnecessary downtime.
Step 5: Transfer Your Website Files
Now transfer your website files from the old hosting server to the new server.
For example, a WordPress website may contain:
- WordPress core files
- wp-content
- Plugins
- Themes
- Uploads
- Configuration files
Make sure all important files are copied correctly.
Do not assume that a partially transferred website is enough.
A missing image, plugin, theme file, or configuration file can cause unexpected problems.
Step 6: Transfer Your Database
If your website uses a database, transfer it to the new hosting environment.
For WordPress websites, the database contains important information such as:
- Pages
- Posts
- Users
- Settings
- Comments
- Plugin data
- Website configuration
After importing the database, update the required database connection details in your configuration file.
For WordPress, this commonly involves checking the wp-config.php file.
Step 7: Check URLs, Links and Website Structure
One of the most important SEO tasks during migration is ensuring that your website URLs remain unchanged.
For example:
Before:
example.com/services/web-hosting
After:
example.com/services/web-hosting
This is ideal.
Avoid changing your domain structure, URL structure, page names, and hosting provider at the same time unless there is a strong reason to do so.
If URLs must change, create proper 301 redirects from the old URLs to the corresponding new URLs.
Why are 301 redirects important?
They help users and search engines reach the new version of a page when its URL has changed.
For example:
Old URL → New URL
example.com/old-page → example.com/new-page
A relevant 301 redirect should be configured between the two.
Step 8: Test the Website Before Changing DNS
Before pointing your domain to the new server, test the website thoroughly.
Check:
- Homepage
- Important landing pages
- Blog posts
- Contact forms
- Images
- Videos
- Navigation
- Internal links
- Search functionality
- Login pages
- Checkout pages
- Payment functionality
- Mobile responsiveness
Also check whether the website is generating:
- 404 errors
- 500 errors
- Database errors
- Redirect loops
- Mixed-content warnings
Testing before DNS changes gives you an opportunity to fix problems before visitors reach the new server.
Step 9: Update DNS Records
Once the new website has been tested, update your DNS records so your domain points to the new hosting server.
DNS changes can take some time to propagate depending on DNS configuration and caching.
During this period, some users may reach the old server while others reach the new server.
Therefore, keep your old hosting active until you are confident that the migration is complete.
Do not immediately cancel the old hosting account.
Step 10: Check SSL Certificate
Your website should continue working securely over HTTPS after migration.
Check:
https://yourdomain.com
Make sure:
- SSL is active
- HTTPS loads correctly
- HTTP redirects to HTTPS
- There are no mixed-content warnings
- Important pages use HTTPS
- Canonical URLs use the correct protocol
An SSL issue can prevent users from accessing your website properly and may create unnecessary technical problems.
Step 11: Check Robots.txt and XML Sitemap
After migration, verify your robots.txt file.
Make sure you haven't accidentally blocked important sections of your website from search engine crawlers.
Also check your XML sitemap.
Your sitemap should:
- Load correctly
- Contain valid URLs
- Use the correct HTTPS version
- Avoid unnecessary URLs
- Be accessible to search engines
After migration, submit or verify your sitemap through Google Search Console.
Step 12: Monitor Your Website After Migration
Your work isn't finished when the website starts loading from the new server.
The first few days after migration are especially important.
Monitor:
- Organic traffic
- Search rankings
- Indexed pages
- Crawl errors
- Server errors
- Website uptime
- Page speed
- Core Web Vitals
- 404 errors
- Redirects
- Search Console notifications
Compare your website's performance with the period before migration.
A small fluctuation in traffic can happen, but a significant or continuous decline should be investigated.
Common Website Migration SEO Mistakes
Avoid these common mistakes when moving your website to a new hosting provider.
1. Not Taking a Backup
Without a complete backup, recovering from a migration failure can become difficult.
2. Changing URLs Unnecessarily
Changing hosting and URL structure at the same time increases the risk of SEO problems.
3. Forgetting 301 Redirects
If URLs change, missing redirects can result in broken links and lost traffic.
4. Blocking Search Engines
A wrongly configured robots.txt file can prevent search engines from crawling your website.
5. Forgetting SSL
Your website should continue to work properly over HTTPS.
6. Cancelling Old Hosting Too Quickly
Keep the old server active until you have confirmed that the new hosting environment works correctly.
7. Not Testing Forms
A website may look fine while contact forms or lead-generation forms are not working.
8. Ignoring Website Speed
One reason for changing hosting may be better performance. Always test page speed after migration.
Website Hosting Migration Checklist
Use this checklist before and after moving your website.
Before Migration
☐ Choose a suitable hosting provider
☐ Create a complete website backup
☐ Backup the database
☐ Record important URLs
☐ Check Google Search Console
☐ Check organic traffic
☐ Record existing redirects
☐ Check robots.txt
☐ Check XML sitemap
During Migration
☐ Upload website files
☐ Import database
☐ Configure server settings
☐ Configure domain
☐ Install SSL
☐ Test website
☐ Check internal links
☐ Check forms
☐ Check redirects
☐ Check mobile version
After Migration
☐ Update DNS
☐ Monitor DNS propagation
☐ Verify HTTPS
☐ Check robots.txt
☐ Check XML sitemap
☐ Verify Google Search Console
☐ Check indexing
☐ Monitor 404 errors
☐ Monitor website speed
☐ Monitor organic traffic
Frequently Asked Questions
Will changing hosting affect my Google rankings?
Changing your hosting provider alone does not automatically cause your website to lose rankings. However, downtime, server errors, slow performance, broken links, or incorrect technical configurations during migration can negatively affect your website.
How long does website migration take?
The time depends on website size, hosting environment, database size, DNS configuration, and website complexity. A small website can often be migrated relatively quickly, while large websites may require detailed planning and testing.
Do I need to change my domain name when changing hosting?
No. You can move your website to a new hosting provider while keeping the same domain name.
Should I keep my old hosting after migration?
Yes. It is safer to keep the old hosting active until you have verified that the new website is working correctly and DNS has fully transitioned.
Do I need 301 redirects when changing hosting?
If your URLs remain exactly the same, you normally do not need redirects simply because you changed hosting providers. If your URLs change, relevant 301 redirects should be implemented.
Will website speed improve after changing hosting?
It can. A better hosting environment, adequate server resources, optimized configuration, and suitable server location can improve website performance. However, hosting is only one part of website speed optimization.
Final Thoughts
Moving your website to a new hosting provider doesn't have to put your SEO at risk.
The key is planning the migration carefully instead of treating it as a simple website file transfer.
Create a complete backup, maintain your existing URLs whenever possible, test the new server before changing DNS, check SSL and technical SEO settings, and monitor your website after migration.
If your current hosting is causing slow loading, downtime, security concerns, or resource limitations, moving to a better hosting environment can be a smart step toward improving your website's overall performance.
A successful hosting migration is one where your visitors barely notice that anything changed.







































































































Leave A Comment