
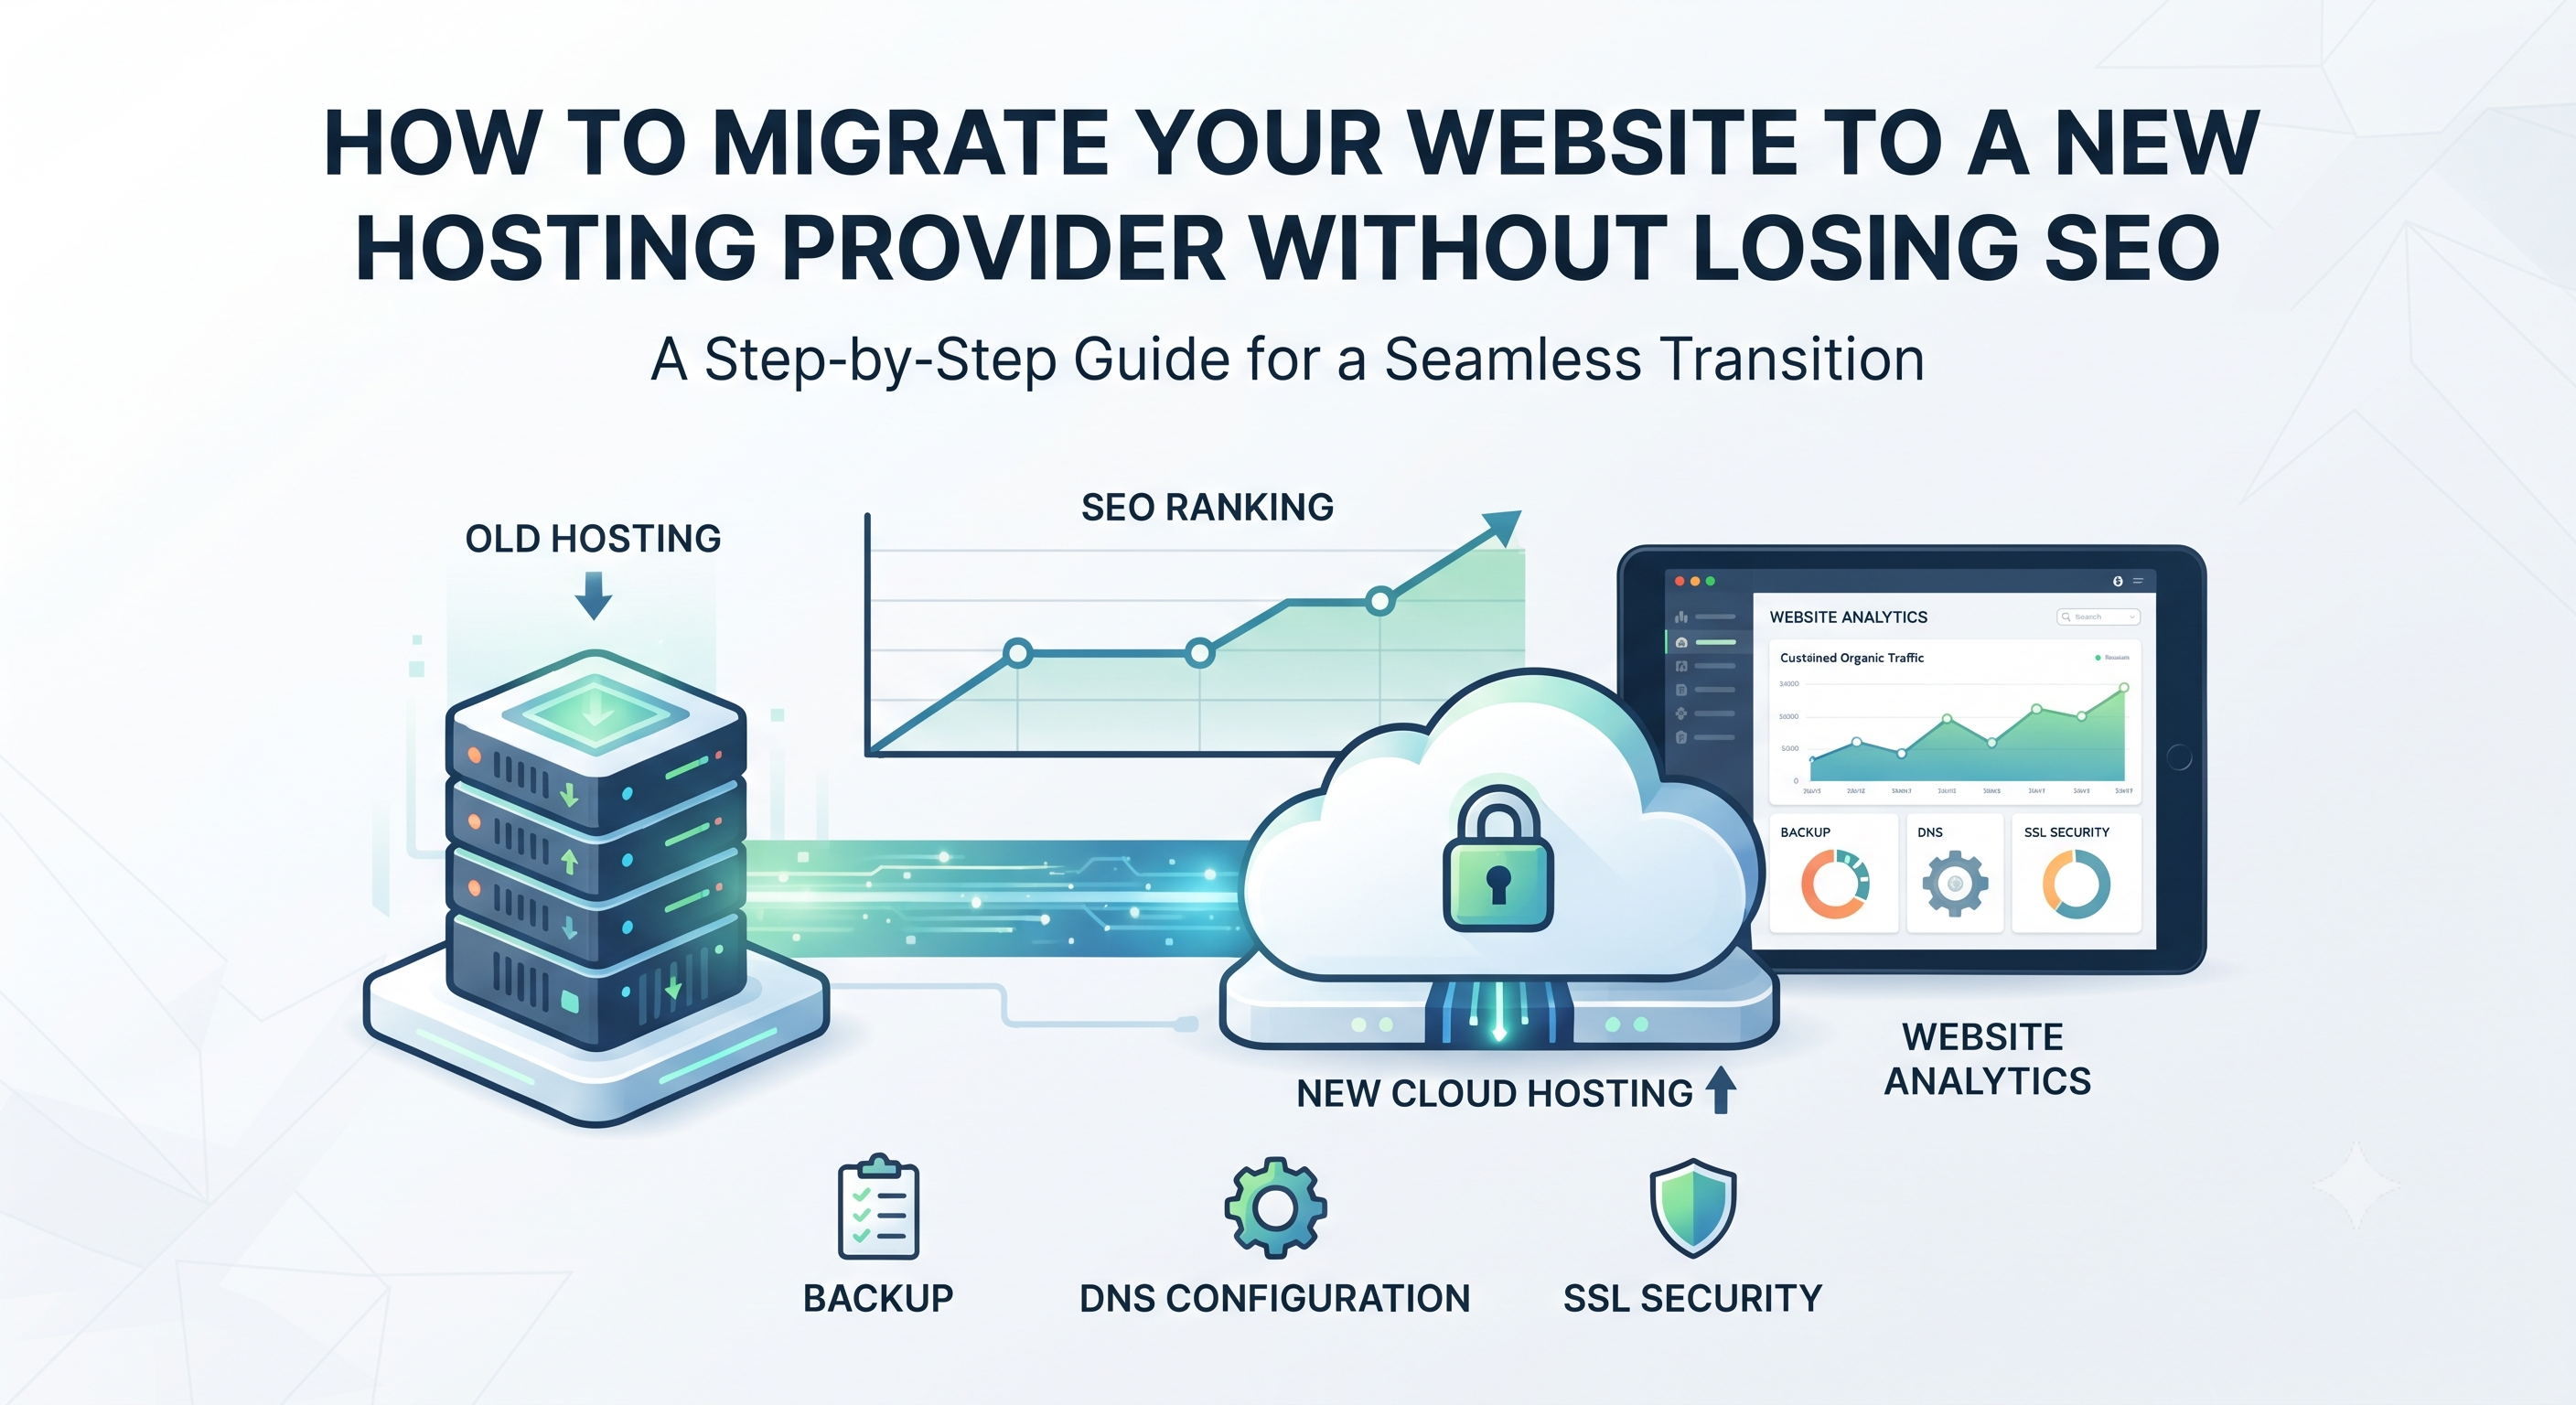
Migrating your website to a new hosting provider can feel risky. You may worry about website downtime, lost files, broken links, database errors, email problems, or even a drop in Google rankings.
The good news is that website migration can be completed with minimal or virtually no downtime when it is properly planned and executed.
Whether you are moving because of slow server performance, frequent downtime, limited hosting resources, high renewal costs, or the need for better scalability, choosing the right migration process can help you keep your website accessible throughout the transition.
In this guide, we will explain how to migrate your website to a new hosting provider without downtime, step by step.
Why Move Your Website to a New Hosting Provider?
Before starting a migration, it is important to understand why you are moving your website.
Some common reasons include:
- Slow website loading speed
- Frequent server downtime
- Limited storage or bandwidth
- Poor technical support
- Security concerns
- Increasing hosting costs
- Lack of scalability
- Poor server performance
- Limited backup options
- Need for better VPS or cloud hosting resources
A reliable hosting environment can improve website performance, security, scalability, and overall user experience.
What Does Website Migration Mean?
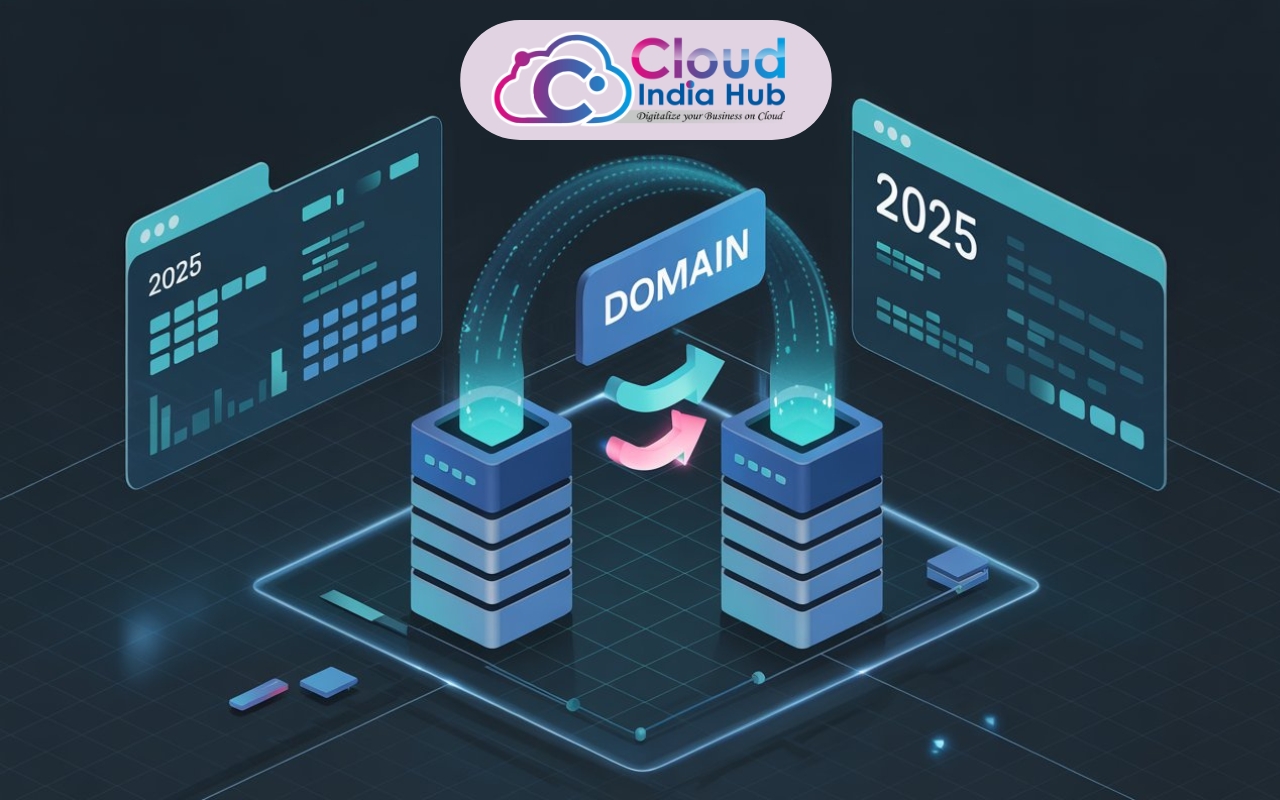
Website migration means transferring your website from one hosting server to another.
Depending on your website, the migration may involve moving:
- Website files
- Databases
- Images and media
- Email accounts
- DNS records
- SSL certificates
- Configuration files
- Cron jobs
- Subdomains
- Domain-related settings
For a simple static website, migration may be relatively straightforward. For WordPress, e-commerce websites, or database-driven applications, additional preparation and testing may be required.
How to Migrate Your Website Without Downtime
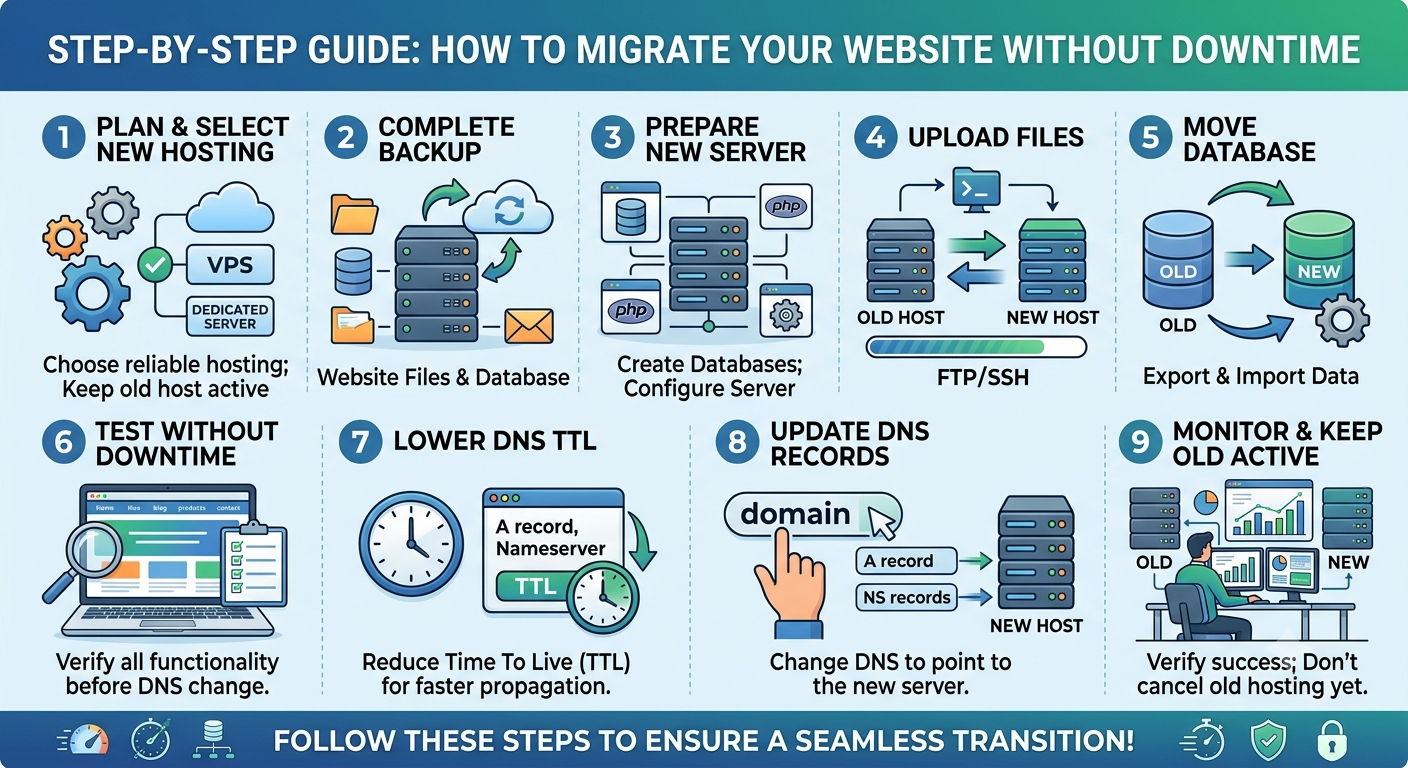
1. Choose and Set Up Your New Hosting Account
The first step is to purchase and configure your new hosting service.
Before selecting a provider, compare important factors such as:
- Server performance
- Storage
- Bandwidth
- RAM and CPU resources
- Backup options
- Security features
- SSL support
- Customer support
- Scalability
- Data center locations
- Pricing and renewal costs
Do not cancel your existing hosting account immediately. Keep your old hosting active until the migration has been completed and verified.
This gives you a backup environment if something goes wrong during the transition.
2. Create a Complete Backup of Your Existing Website
Before moving anything, create a full backup of your current website.
Your backup should include:
- Website files
- Database
- Images
- Documents
- Configuration files
- Email data, if applicable
- DNS-related information
For WordPress websites, make sure you back up both the WordPress files and the database.
A backup gives you a recovery option if files are corrupted or something is configured incorrectly during migration.
Important: Never begin a major website migration without having a reliable backup.
3. Prepare the New Server
Once your new hosting account is ready, configure the server to support your website.
Depending on your website, this may include:
- Creating a database
- Creating database users
- Configuring PHP
- Installing required software
- Setting up SSL
- Creating email accounts
- Configuring server settings
- Creating the website directory
- Installing WordPress or another CMS
Try to make the new hosting environment as similar as possible to the existing environment before transferring the website.
4. Upload Your Website Files to the New Server
Now transfer your website files from the old server to the new server.
You can use different methods depending on your hosting environment, including:
- FTP
- SFTP
- SSH
- Hosting control panels
- Server migration tools
- Backup restoration tools
For larger websites, SFTP or SSH-based transfers can be useful because they provide a secure way to transfer files.
Make sure the directory structure and file permissions are correctly configured after the transfer.
5. Move the Website Database
If your website uses a database, you need to migrate it carefully.
For example, a WordPress website typically uses a MySQL or MariaDB database.
The general process is:
- Export the database from the old server.
- Create a new database on the new server.
- Create a database user.
- Import the old database.
- Update the database connection details.
- Check that the website can connect to the database.
After importing the database, test the website thoroughly.
Check pages, posts, forms, login functionality, images, menus, and other important features.
6. Test Your Website Before Changing DNS
This is one of the most important steps for achieving a smooth migration.
Do not immediately point your domain to the new server.
Instead, test the website on the new hosting environment first.
You should check:
- Homepage
- Internal pages
- Contact forms
- Login pages
- Images
- Videos
- Navigation menus
- Search functionality
- Checkout process
- Payment functionality
- Database-driven features
- Mobile responsiveness
- SSL certificate
- Website speed
- Redirects
If your website is running WordPress, check the WordPress dashboard and make sure plugins and themes are working correctly.
Testing before changing DNS allows you to identify problems while the old website is still live.
7. Reduce DNS TTL Before Migration
DNS records determine where your domain points.
Before the migration, you can reduce the DNS TTL (Time to Live) value.
A lower TTL can help DNS changes propagate more quickly because DNS resolvers may cache the records for a shorter period.
Ideally, make this change before the actual migration so the reduced TTL has time to take effect.
However, DNS propagation can still vary depending on DNS providers, networks, and caching.
8. Freeze or Minimize Website Changes
If your website receives regular updates, new registrations, comments, orders, or customer information, you need to be careful during migration.
For example, imagine your e-commerce website receives several orders while you are copying the database.
Those new orders may not exist in the database copy that you moved to the new server.
For websites with frequently changing data, consider temporarily putting the website into maintenance mode or using a migration process that keeps the data synchronized.
For smaller websites, choose a low-traffic period for the final database transfer.
9. Update Your DNS Records
Once the new website has been fully tested, update your domain's DNS records to point to the new hosting server.
Depending on your setup, you may need to change:
- A record
- AAAA record
- CNAME record
- Nameservers
The correct DNS configuration depends on your hosting provider and website architecture.
After making the DNS change, monitor your website from different networks and devices.
Some users may continue reaching the old server temporarily because DNS caching and propagation do not happen simultaneously everywhere.
10. Keep the Old Hosting Active
Do not immediately delete your old hosting account.
Keep it active for several days while you confirm that the new server is working correctly.
During this period, monitor:
- Website availability
- Server errors
- Traffic
- Contact forms
- Orders
- Emails
- Database activity
- Website speed
- SSL
- DNS resolution
- Search engine crawling
Once you are confident that the migration is successful, you can cancel the old hosting service.
How to Prevent SEO Problems During Website Migration
A hosting migration can affect SEO if it causes downtime, changes URLs, breaks redirects, or makes important pages inaccessible.
To protect your search visibility:
Keep the Same URLs Whenever Possible
If your domain and URL structure remain unchanged, the migration is generally simpler from an SEO perspective.
Avoid changing your domain, URL structure, and hosting provider at the same time unless there is a specific reason.
Check Your Robots.txt File
Make sure the new server is not accidentally blocking search engine crawlers.
A migration can sometimes result in incorrect robots.txt settings or temporary noindex instructions being left in place.
Check Your XML Sitemap
Make sure your sitemap is accessible after migration.
If the website structure has changed, update the sitemap accordingly.
Check Canonical URLs
Verify that canonical tags are pointing to the correct URLs.
Incorrect canonical settings can create indexing problems.
Monitor Google Search Console
After migration, monitor Google Search Console for:
- Indexing problems
- Crawl errors
- Server errors
- Security issues
- Coverage changes
- Sitemap problems
Check Redirects
If any URLs changed during migration, create appropriate 301 redirects from the old URLs to the relevant new URLs.
Avoid redirecting every page to the homepage unless the homepage is genuinely the correct destination.
Common Website Migration Mistakes to Avoid
Cancelling the Old Hosting Too Early
Keep the old hosting active until you are confident the migration is successful.
Migrating Only Website Files
For database-driven websites, copying only the files is not enough. The database must also be transferred correctly.
Forgetting Email Configuration
If your business email is connected to your domain, make sure your MX records and other email-related DNS settings remain correctly configured.
Not Testing the New Server
Never assume that a copied website will automatically work.
Test the new environment before changing DNS.
Ignoring SSL
Make sure HTTPS works correctly on the new server.
Check both:
https://yourdomain.com
and
https://www.yourdomain.com
if both versions are used.
Changing Too Many Things at Once
Avoid changing your hosting, domain, URL structure, CMS, design, and website architecture simultaneously unless necessary.
Making one major change at a time makes troubleshooting much easier.
Website Migration Checklist
Before migration:
☐ Choose the new hosting provider
☐ Create a complete backup
☐ Check current DNS records
☐ Reduce DNS TTL if appropriate
☐ Record email and DNS settings
☐ Prepare the new server
During migration:
☐ Transfer website files
☐ Transfer database
☐ Configure database connection
☐ Configure SSL
☐ Set up email
☐ Test website functionality
After migration:
☐ Update DNS
☐ Monitor DNS propagation
☐ Test website from multiple networks
☐ Check forms and important functions
☐ Check website speed
☐ Check redirects
☐ Check robots.txt
☐ Check XML sitemap
☐ Monitor Google Search Console
☐ Keep old hosting active temporarily
How Long Does Website Migration Take?
The migration time depends on the size and complexity of the website.
A small static website may be migrated relatively quickly, while large WordPress websites, e-commerce stores, and applications with large databases may require significantly more planning.
Factors that affect migration time include:
- Website size
- Database size
- Number of files
- Server configuration
- Email migration
- DNS configuration
- Website complexity
- Number of visitors
- Third-party integrations
The key objective should not simply be speed. Accuracy, testing, and continuity are more important than rushing the migration.
Is Website Migration Bad for SEO?
Changing hosting providers by itself does not necessarily mean your website will lose search rankings.
SEO problems are more likely when migration causes:
- Extended downtime
- Broken URLs
- Missing pages
- Incorrect redirects
- Incorrect robots.txt settings
- Noindex errors
- SSL problems
- DNS problems
- Database or content loss
A carefully planned migration that keeps the same domain and URL structure can help reduce these risks.
Final Thoughts
Moving your website to a new hosting provider does not have to mean extended downtime or SEO problems.
The safest approach is to prepare the new server, create complete backups, transfer the website and database, test everything before changing DNS, and keep the old hosting active until the migration is confirmed successful.
For businesses that depend on their website for traffic, leads, sales, or customer communication, proper planning is essential.
A successful migration is not just about moving files from one server to another. It is about maintaining website availability, performance, security, functionality, and search visibility throughout the process.
If your current hosting is slow, unreliable, or unable to support your growing website, moving to a more suitable hosting environment can provide the resources and scalability your website needs.
Frequently Asked Questions
Can I migrate my website without downtime?
Yes. With proper preparation, testing, DNS planning, and a controlled final switch, you can minimize or potentially avoid noticeable downtime.
Will changing hosting affect my Google ranking?
Changing hosting providers alone does not automatically cause a ranking drop. Problems can occur if the migration creates downtime, broken URLs, crawl errors, or other technical SEO issues.
Should I cancel my old hosting after migration?
No. Keep the old hosting active until you have verified that the new website, DNS, email, and other important services are working correctly.
Do I need to migrate my database?
If your website uses a database, such as WordPress, an e-commerce platform, or a custom application, the database needs to be migrated along with the website files.
What should I check after changing DNS?
Check website availability, HTTPS, forms, pages, images, database functionality, email, redirects, DNS resolution, website speed, robots.txt, sitemap, and Google Search Console.
Can I migrate a WordPress website to another hosting provider?
Yes. WordPress websites can be migrated manually or by using suitable migration tools. The process generally involves transferring WordPress files and the database and then updating the necessary configuration.




















































































































Leave A Comment